

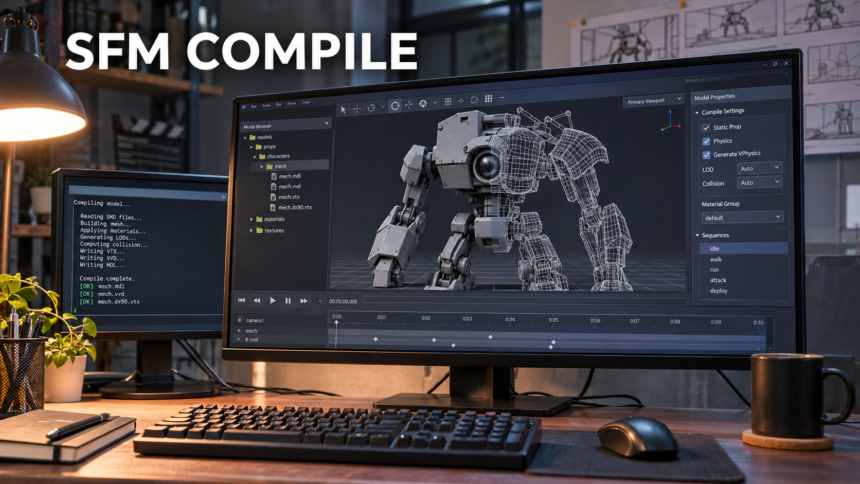
Getting a custom model into Source Filmmaker can feel confusing at first. Your model looks finished in Blender, but SFM cannot use the project file directly. It needs an asset prepared for the Source engine.
That is where SFM compile comes in. Compiling turns exported model data into files that Source Filmmaker can load. Once those files and their materials are in place, you can add the model to a scene and begin working with it.
This guide explains the tools involved, a practical starting workflow, and what to check when something goes wrong.
What Is SFM Compile?
In a model-making workflow, SFM compile means building a Source-compatible model from exported source files. Valve’s StudioMDL compiler performs the build, following instructions in a text file called a QC script.
The process connects three main parts: your exported model, the QC instructions, and the compiler. Materials and textures also need to be prepared so the finished asset displays correctly.
Source Filmmaker itself is a filmmaking tool. It lets you work with characters, props, cameras, lighting, and animation, while model creation happens in separate software.
Compile vs. Render
Compiling and rendering solve different problems.
Compiling prepares an asset for use in SFM. You do this when bringing in a custom model or rebuilding one after relevant changes.
Rendering produces images or video from a scene. It happens after you have arranged your models, animation, cameras, and lighting.
For example, bringing a custom chair into SFM requires a compatible model. Exporting a shot of a character sitting on that chair requires rendering.
This distinction helps when troubleshooting. A failed model build needs a different fix from a problem with movie export.
Tools You Need
A basic workflow starts with Source Filmmaker, a modeling application, a compatible exporter, and a text editor.
Blender is one option for creating the mesh and preparing its rig. The Blender Source Tools add-on supports SMD and DMX import and export, providing a route between Blender and Source model workflows. Check its installation requirements against your Blender version.
Crowbar provides an interface for compiling, decompiling, and viewing Source models. It works with the selected game’s compiler, so its configuration matters as much as the QC file.
You will also need a suitable texture tool if you are creating new Source textures. Keep editable source artwork alongside your model project so later changes are easier.
For a first attempt, choose a simple prop. A box or small piece of furniture is easier to troubleshoot than a character with facial controls and a complex skeleton.
Know the Files
Several files work together during model preparation. Their extensions tell you which stage they belong to.
| File | Purpose |
|---|---|
| SMD / DMX | Exported source data used in model workflows |
| QC | Instructions for building the model |
| MDL | The compiled model’s main file |
| VVD / VTX | Supporting vertex and mesh-rendering data |
| PHY | Collision data, when generated |
| VMT | Material settings and texture references |
| VTF | Texture image data |
Keep the compiled model and its required companion files together. Copying only the MDL can leave you with an incomplete asset.
Materials are separate from the model build. A successful compile does not automatically mean that every texture reference is correct.
Prepare the Model
Before exporting, inspect the model in your modeling application. Check its size, orientation, surface normals, UV layout, and material assignments.
For a rigged model, test a few poses. Look for vertices that follow the wrong bone or parts of the mesh that remain behind when the skeleton moves.
Keep the first version simple. Start with the essential mesh and materials, then add complexity after confirming that the asset loads correctly.
Use clear filenames and keep the source files for one model in a dedicated folder. A name such as desk_reference.smd is easier to identify later than several exports called final_new.
Export the Source
Export your model through a Source-compatible exporter. In Blender, Blender Source Tools provides SMD and DMX support.
Choose settings appropriate to your target workflow. Exporting the correct extension is only part of the job; the exported content must also contain the intended mesh, skeleton, and any required animation data.
After export, confirm that the files exist where you expect them. If you rename or move them, update the QC references before compiling.
An organized source folder makes compiler errors much easier to trace.
Write the QC
The QC script tells StudioMDL what to build and where the result belongs. A small prop needs relatively few instructions, while a detailed character may require many more.
Here is an illustrative starting point for a simple prop:
$modelname "custom/desk.mdl"
$body "body" "desk_reference.smd"
$surfaceprop "wood"
$cdmaterials "models/custom/desk/"
$sequence "idle" "desk_reference.smd"
Replace the example names with your actual filenames and paths. This is a starting example, not a complete script for every model.
The model name controls the compiled asset’s name and location. The body entry identifies the reference mesh, while the material directory tells Source where to search for its materials.
The idle sequence provides a basic sequence using the reference file. Characters, animated props, and models with additional features need instructions suited to those features.
Compile With Crowbar
Open Crowbar and check the game configuration before starting. For an SFM-targeted build, select the Source Filmmaker setup and verify that its paths point to your actual installation.
A practical first pass is:
- Open the Compile tab.
- Select the model’s QC file.
- Confirm the Source Filmmaker compiler configuration.
- Check the output settings.
- Start the compile and read the log.
If you installed SFM in a different Steam library, default paths may need correcting. Browse to the actual installation instead of assuming it is on your system drive.
Read the compiler log before changing the model. A missing source file calls for a path correction; it does not necessarily mean that the mesh needs rebuilding.
Fix one issue at a time and compile again. Changing several unrelated settings makes it harder to identify what solved the problem.
Test in SFM
Once compilation completes, confirm where the output files were written. Crowbar’s output settings can affect where you find them.
Make sure the model and materials are available through a content folder that SFM loads. Then locate the model in SFM’s model browser and add it to a simple test scene.
Check its scale, orientation, and appearance. If it is rigged, move a few controls and inspect the deformation.
Use a plain scene with straightforward lighting for this first check. It is easier to notice missing surfaces or incorrect materials without a busy background.
A successful compile is a build result; a successful test confirms that the asset behaves as intended.
Fix Common Problems
When a build fails, begin with the earliest meaningful error in the log. Later messages may be consequences of the first problem.
Missing source files: Compare the QC references with the actual filenames and folder locations. Check spelling and file extensions.
Compiler cannot be found: Revisit Crowbar’s game setup. A moved installation or an incorrect Steam library path can point it toward a file that does not exist.
Model does not load: Confirm that the output files are present, that SFM can access their content folder, and that the build used an appropriate compiler configuration.
Materials look wrong: Check the material directory, material names, and texture references. Inspect this separately from the geometry build.
Mesh bends incorrectly: Return to the source model and inspect bone weights, the reference pose, and the exported skeleton.
Avoid treating every failure as a reason to reinstall your tools. Start with the file or setting named by the error, then work outward.
Keep Builds Manageable
Save a working version before making substantial changes. Keep the editable model, QC script, texture sources, and compile notes together.
Use a small test build to check each new feature. For example, confirm that the basic mesh loads before adding several material variations or more complex animation features.
When you ask for help, share the relevant compiler error and the QC section involved. “It does not work” gives someone much less to investigate than a specific missing-file message.
A repeatable workflow is more useful than a collection of unexplained settings. Once your first prop works, use that project as a reference for the next one.
FAQs
What does SFM compile mean?
In model preparation, it means converting exported source data into a model that Source Filmmaker can load. A QC script supplies the instructions, and StudioMDL performs the compilation.
Is SFM compile a separate application?
The phrase describes a process rather than one official application. Tools involved can include Blender, Blender Source Tools, Crowbar, and Valve’s StudioMDL compiler.
Can I load a Blender project directly into SFM?
A Blender project needs to go through a suitable export and model-compilation workflow. Saving a .blend file does not create a Source-compatible model.
Do I need Crowbar?
Crowbar is a convenient interface, but StudioMDL does the actual compilation. Other workflows can invoke the compiler without using Crowbar.
What is a QC file?
It is a plain-text script that describes how to build a model. Its instructions identify source files and define properties such as the output name and material search locations.
Does every model need a PHY file?
No. A PHY file stores collision data when that data is generated. Its absence alone does not establish that a model build has failed.
Does compiling create the textures too?
Model compilation and texture preparation are separate tasks. You still need suitable materials, texture files, and correct references for the asset’s appearance.
Why does a model compile but fail to display correctly?
Completing the build does not verify every part of the asset’s use in SFM. Check content availability, companion files, materials, scale, and rigging according to the visible problem.
Do I need to recompile before every video export?
No. Compiling prepares the model; exporting produces the finished scene output. Recompile when changes to the model’s source data or build instructions require a new asset.
Read also Exclusive Tours in Egypt: How Expert-Led Experiences Reveal the Stories Behind Ancient Monuments